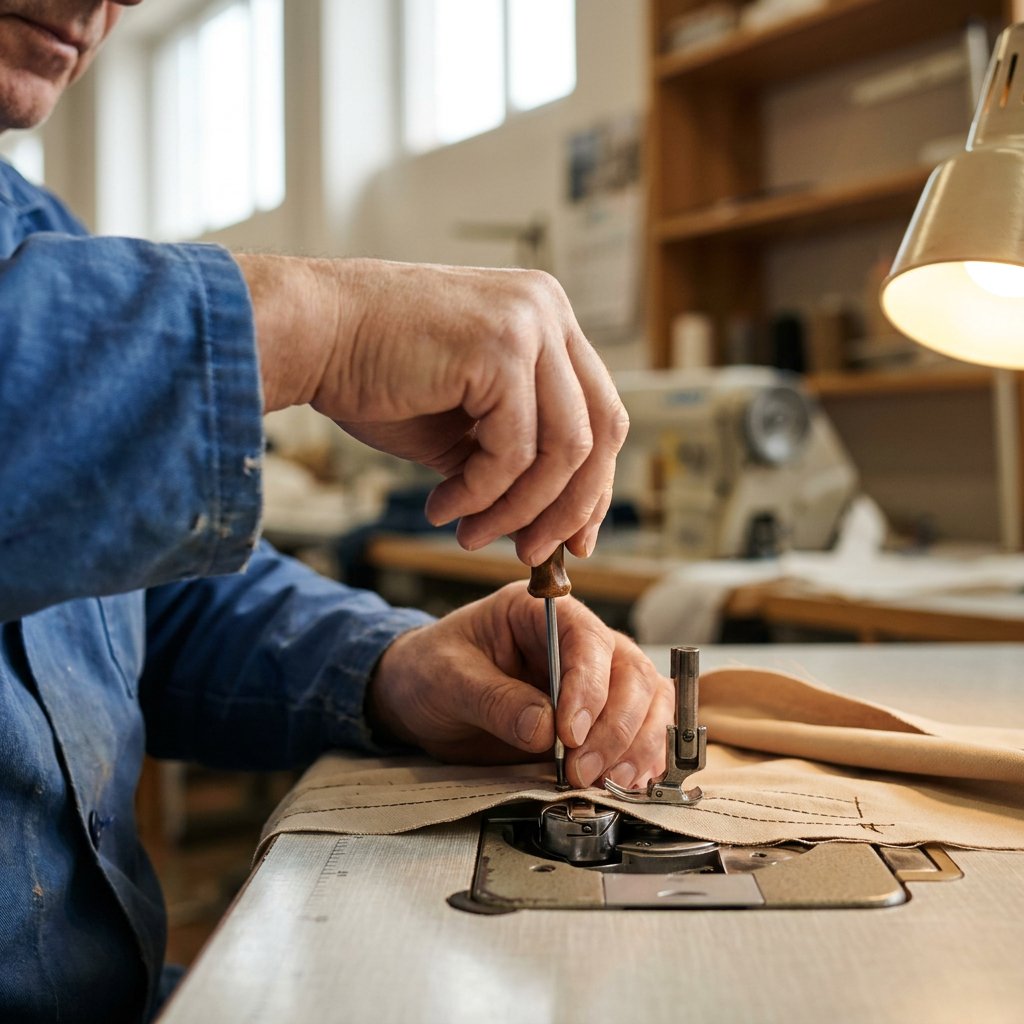
Bobbin tension has a direct effect on stitch balance, seam appearance, and production consistency in curtain manufacturing. If the bobbin thread is too loose or too tight, you can see looping, puckering, thread showing on the opposite side, or unstable seams across long curtain runs. This guide explains how to adjust bobbin tension on an industrial curtain sewing machine in a controlled, practical way.
Because industrial curtain sewing machines are used for repeatable, high-volume work, tension changes should be small, deliberate, and checked on the actual fabric construction you are running. In many cases, the problem is not the bobbin setting alone, so it is important to diagnose the stitch correctly before touching the bobbin case screw.
When bobbin tension actually needs adjustment
Before adjusting the bobbin, confirm that the machine is threaded correctly, the bobbin is inserted properly, and the sewing area is clean. On industrial curtain machines, an apparent bobbin issue can also come from upper thread tension, lint in the bobbin case zone, a damaged needle, or an unevenly wound bobbin.
Bobbin tension is worth checking when you notice one or more of these signs:
- Bobbin thread looping underneath the seam
- Upper thread being pulled to the underside
- Bobbin thread visible on the top side of the curtain
- Unbalanced stitches across long seams
- Inconsistent stitch quality after rethreading and cleaning
As a rule, start with the simplest causes first. If the machine has just been rethreaded incorrectly or the bobbin case zone contains lint, adjusting the screw may mask the real issue rather than solve it.
What to check before touching the bobbin case screw
A reliable adjustment starts with a stable setup. On curtain production equipment, this matters even more because long runs, layered fabrics, curtain tape, and continuous feeding can make a small tension error more visible.
- Thread path: Confirm the upper thread is following the full path correctly.
- Bobbin insertion: Make sure the bobbin is seated correctly and the thread is passing under the tension spring as intended.
- Needle condition: Replace bent, blunt, or damaged needles before testing tension.
- Bobbin winding: Use an evenly wound bobbin. Poor winding can imitate tension faults.
- Cleanliness: Remove lint and loose thread from the bobbin case zone and surrounding hook area.
- Upper tension: Check whether the top tension is already set too loose or too tight.
If these points are not correct first, the bobbin adjustment will be unreliable. Using quality thread, needles, and bobbins also helps maintain consistent tension; see our sewing consumables.
How to adjust bobbin tension
Most industrial curtain sewing machines with a lockstitch unit use a bobbin case with a small tension screw on the tension spring. The exact layout can vary by machine, but the adjustment logic is the same: small turns only, then test again.
Step 1: Prepare the machine for a controlled test
Switch off the machine and access the bobbin area safely. Remove lint and thread fragments from the bobbin case zone. Reinstall the bobbin correctly and pull the thread through the tension spring.
Prepare a test piece that matches your production work as closely as possible. If you are sewing curtain headings, hems, or layered constructions, test on the same build-up rather than on a single thin scrap.
Step 2: Sew a test seam and read the stitch
Run a short test seam and inspect both sides.
- If loops appear underneath, the upper tension may be too loose, or the machine may be threaded incorrectly.
- If the bobbin thread is visible on top, bobbin tension may be too loose, upper tension may be too tight, or both may be out of balance.
- If the upper thread is pulled strongly to the underside, bobbin tension may be too tight.
The aim is a balanced lockstitch with the thread interlock sitting in the center of the material layers.
Step 3: Make a very small adjustment
Locate the bobbin case tension screw and adjust it in very small increments.
- Clockwise: increases bobbin tension
- Counterclockwise: decreases bobbin tension
Make only a slight turn each time. Large movements make it harder to identify what changed and can quickly move the machine away from a stable setting.
Step 4: Test again on the same curtain construction
Reinstall the bobbin case if needed and sew another test seam using the same material, layers, and sewing conditions. Compare the stitch to the previous sample and look for improvement in stitch balance, seam appearance, and thread placement.
If the stitch improves but is still not correct, repeat with another very small adjustment. If the stitch becomes worse, return towards the previous position and assess whether the upper tension should be corrected instead.
How upper tension and bobbin tension work together
One of the most common mistakes is adjusting bobbin tension to correct a fault that actually starts in the upper thread path. On industrial curtain sewing machines, the bobbin setting should usually be treated as a baseline, while day-to-day balancing is often fine-tuned through the upper tension.
That means:
- Do not assume every underside loop is a bobbin problem
- Do not over-correct the bobbin screw before checking the top thread path
- Do not judge the setting from one short seam on the wrong fabric
If the bobbin thread shows on top after a minor bobbin correction, review the upper tension as well. The cleanest result comes from balancing both systems, not forcing one to compensate for the other.
Production factors that affect tension on curtain machines
Industrial curtain sewing is not the same as general garment sewing. Tension behavior can change with:
- Long continuous seams
- Multiple fabric layers
- Curtain tape or heading applications
- Lightweight sheers versus heavier curtain constructions
- Conveyor-supported feeding on specialist curtain machines
For that reason, the final check should always be made on the actual material set-up you are producing. A setting that looks acceptable on a basic scrap may still become unstable when you return to the real curtain assembly.
Good practice after adjustment
Once the stitch is balanced, keep the result repeatable by maintaining the sewing area properly. Eisenkolb’s service and maintenance support includes checking and cleaning the bobbin case zone and confirming thread tension through test seams. That approach helps prevent recurring stitch faults and unnecessary downtime.
- Clean regularly: remove lint from the bobbin area before it affects thread control.
- Test before production: sew a short sample seam after maintenance, rethreading, or bobbin replacement.
- Change one variable at a time: avoid altering bobbin tension, upper tension, needle, and thread path all at once.
- Match the test to the job: check tension on the same curtain fabric and seam construction you are running.
FAQ
How do you adjust sewing machine bobbin tension?
Adjust the small screw on the bobbin case tension spring in very small increments, then sew a fresh test seam. Turn clockwise to tighten and counterclockwise to loosen, but always confirm the thread path, bobbin insertion, and upper tension first.
Why is my bobbin thread looping underneath?
Looping underneath is often caused by incorrect upper threading or upper tension that is too loose. It can also come from bobbin issues, but reviewing common reasons why thread loops underneath when sewing curtains can help as a next troubleshooting step.
How do I know if the bobbin tension is too tight?
If the upper thread is being pulled to the underside or the stitch lock is sitting too low in the material, the bobbin tension may be too tight. Confirm this on a test seam that matches the actual curtain construction.
What is the safest way to test a tension change on an industrial curtain sewing machine?
Use the same fabric type, layer build-up, and seam style as your live production run. A realistic test sample gives a more accurate result than a generic offcut and helps you avoid repeated corrections during production. If you need specific advice on your machine’s bobbin setup or parts, contact our team.